
Bloat is removed in the Minification step, the users only seen and can determine the content visible. Learn safe settings for mouse clicks and keystrokes, bundling and check if critical rendering paths remain intact.
On the Internet, waiting an extra second feels like forever. Therefore, a quicker page keeps people happy and can bump you up in Google’s results. Minification shrinks the amount of data a browser needs to grab, and that simple trick can cut loading times. In short, here’s what it is, why you need it, and how to do it.
What Minification Means
Plain-English Definition
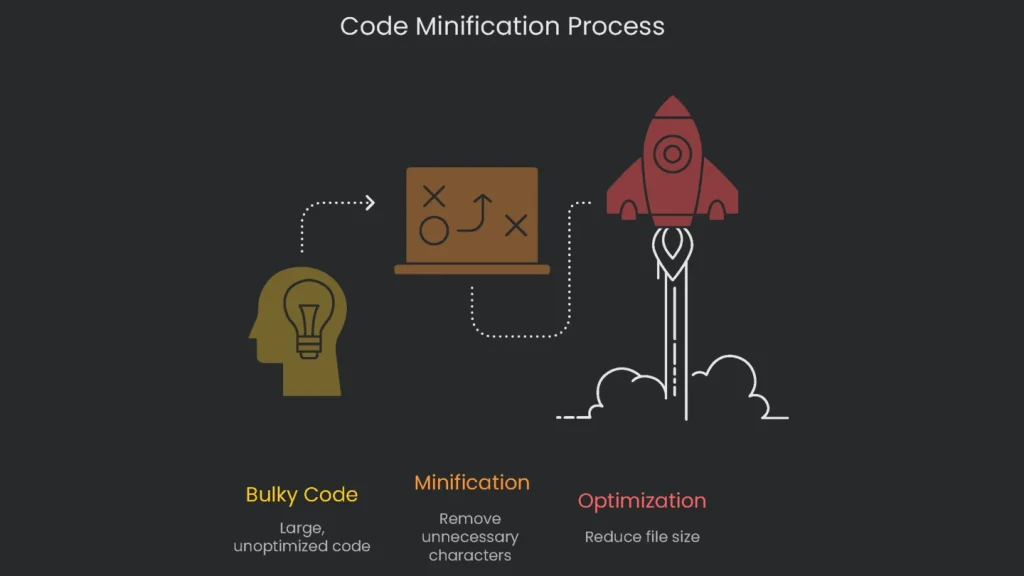
Minification shrinks code by chopping out anything that isn’t needed for the browser to work. Think of HTML, CSS, and JavaScript as packing a suitcase. You roll up the clothes (your code) and leave behind tags, extra spaces, line breaks, and notes that a suitcase (browser) doesn’t need to read. As a result, the suitcase closes quicker, so you get on the road – or web – faster.
What Minifiers Remove
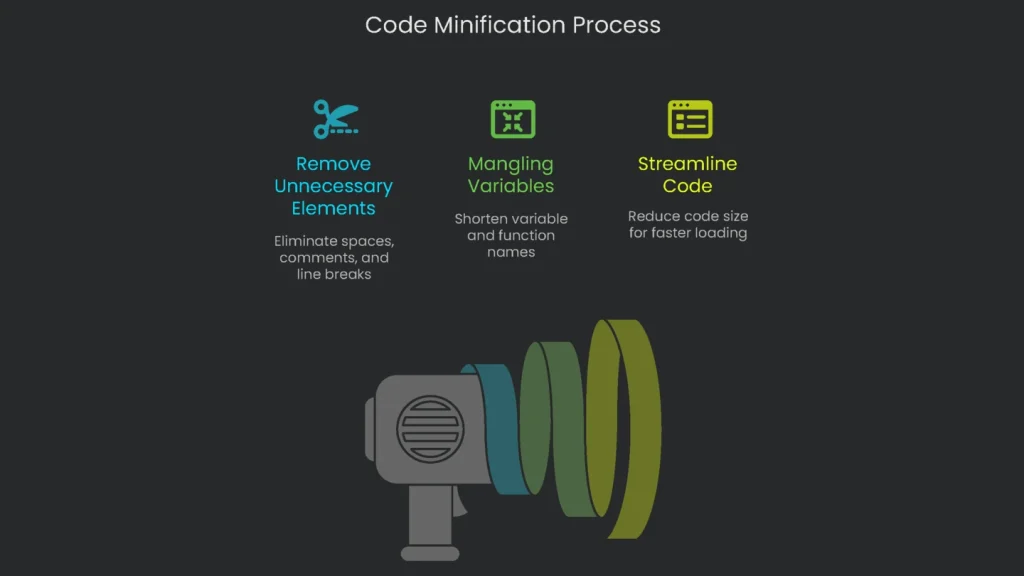
Minification tools take your JavaScript code and look for anything extra that can be tossed out. For example, they remove:
- tabs and spaces that don’t change how the code runs
- every new line that the computer doesn’t actually need
- comments that are helpful for humans but ignored by machines
- symbols that signal what blocks the code belongs to (like the {} around functions) where safe
Bit by bit, streamlined tools also shrink the names of variables and functions by replacing them with one-letter labels—this step is called “mangling.” When everything else is tossed, you’ve got a lean file that JavaScript can load and run fast. It works the same way as the full-size code, but it’s smaller. By contrast, server compression compacts the file on the server, and the browser spends time unzipping it before anything runs. With minified code, there are zero extra steps, and the browser sees the data and runs it right away.
The tools that do this keep getting smarter. The first programs—like JSMin in the early 2000s—did a few quick cuts. Today’s powerhouses, like UglifyJS and Google’s Closure Compiler, run multiple clever tricks to shrink files and speed up web pages.
A Quick Example
To make minification stick in your head, look at a code example that’s been cleaned. Here’s a quick function that a student would hand in fresh out of class.
Before Minification (Student-Friendly JavaScript):
JavaScript
// This function adds first and second together

function calculateSum(first, second) {

// Send back the answer

return first + second;

}
When minified, you get this line—now the code is smaller and ready for speed:
After Minification (Computer-Friendly JavaScript):
JavaScript
function a(b,c){returnb+c}
JavaScript
function add(x,y){returnx+y}
Notice how we trimmed out the unnecessary stuff: spaces, comments, and blank lines. Even the function names are shorter. Consequently, the reduced code still behaves the same way, yet it fits in the browser a lot faster.
How Minified Code Speeds Up Loading and SEO
Why It Matters
Because the file size shrinks, the code loads sooner. You’re often looking at size cuts between 60 and 80 percent. As a result, a domino effect kicks in across your site’s performance, the way a user feels when they visit, and how search engines rank the page.
- Snappier Load Times: The browser grabs a smaller file, and it pops up sooner. That’s the simplest, strongest gain. Therefore, people stick around rather than hitting the back button when a page opens quickly.
- SEO Rankings and Core Web Vitals: Google tracks how quickly your site feels on the front end. Lighter code leads to higher Core Web Vitals scores—signals that help you book a spot in the search results. For example, Google’s optimization tips often mention removing unused code in styles and scripts.
- Cuts Bandwidth Bills: Delivering smaller files uses less bandwidth and can be cheaper. That’s even more core for busy sites that rack up large server and CDN bills. Consequently, saving a byte here and there quickly adds up to real savings.
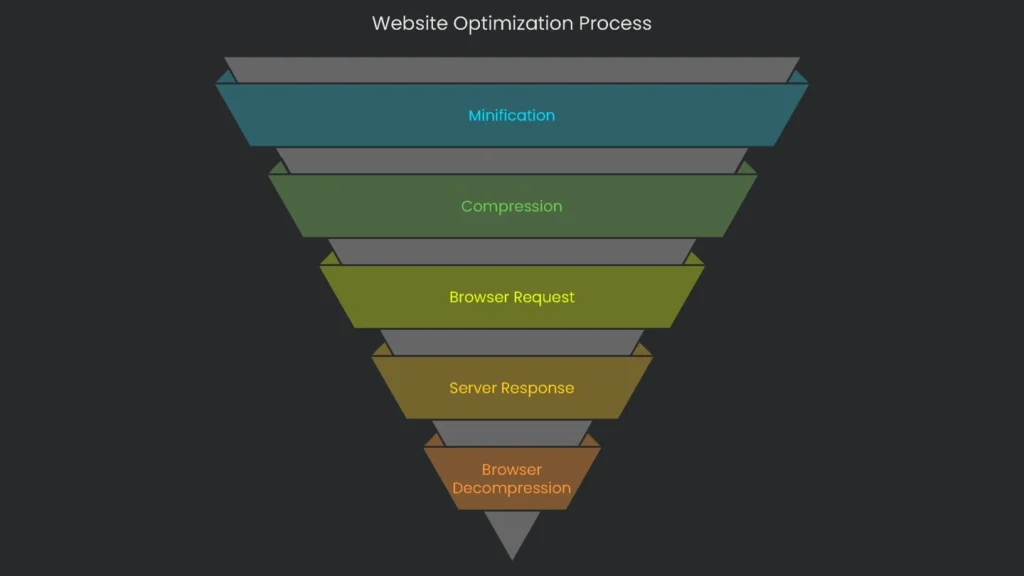
Here’s how code plays nice with browsers so the page shows up sooner and the visitor can start scrolling. The big secret is shrinking a whole lot of CSS into the leanest version it can be without losing its style. When CSS is bulky and untouched, it holds up the page. A browser can’t show anything until every rule is fetched, unfurled, and understood.
One giant uncompressed file can trap someone on a blank screen. It’s practically an elevator-music loop, and it counts as a performance loss. That leaves a poor impression.
So, how does minifying the CSS speed up that process? The tiny file zips over the web, and plenty of rules keep the looks without all the fluff. Then, the page loads sooner, and the visitor stays. Next, here are three ways to do the shrink job, and everyone—rookies and veterans—can pick the route that fits their style.
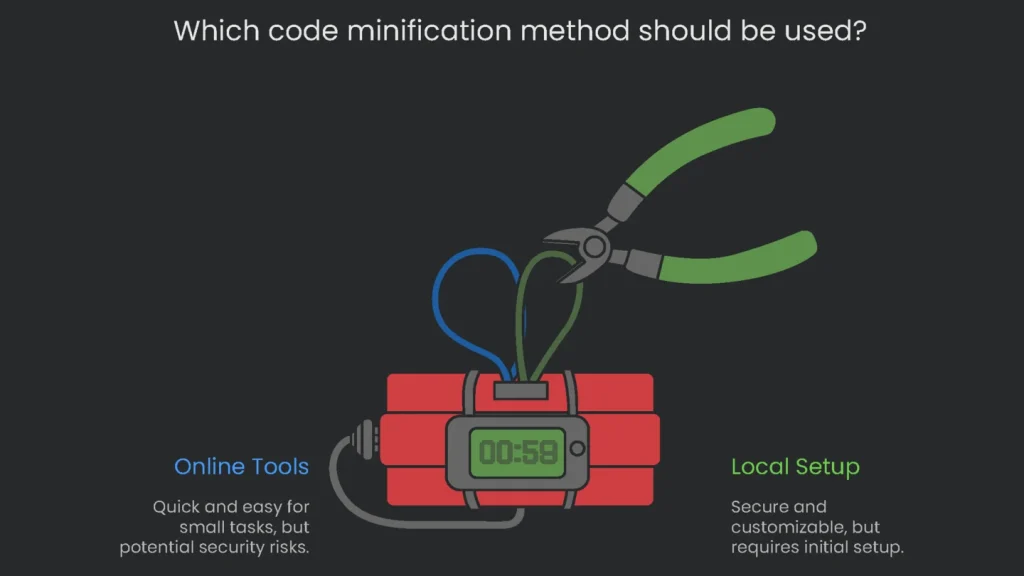
- Online Tools are time-efficient. Paste, condense, and download the tinier style sheet. Great for a one-off fix. No need to sign up, download anything, or remember a password.
- CMS Plugins jump in if your site’s on WordPress or similar. You pick one, click a couple of checkboxes, and it works on its own. As a result, the page styles shrink every time a new one is added, and you never see the excess fluff.
- Build Process Integration is for the pros. Code stays organized on their computers, the shrink script runs every time they save, and when someone presses “upload,” the code—already dressed in its skinny size—appears on the server. No more long code; no waiting hassles.
Use Online Tools
Web minifiers crunch your code directly in your browser, shrinking everything with a single click. These tools are the fastest way to make your files skinnier right now—no setup needed. Therefore, they’re perfect for quick wins.
Who’s This Good For?
Choose this quick route if:
- You’ve got a single file and need it tiny in the next minute.
- Your old project lacks fancy build tools, so old-school is the only way.
- You’re curious and want to see how tiny code can really get for a reminder in the next lesson.
How to Work an Online Tool
Got a few minutes? Here’s the super-simple routine:
- Copy: Open the code file (think style.css) and grab everything on the screen.
- Paste: Jet over to an online minifier and drop the code in the box it shows.
- Minify: Tap the “Minify” button. Like magic, the page shrinks the code and hands you the tiny version.
- Copy Back: Highlight the minified code and copy the shrunken version.
- Save: Make a new file (style.min.css works) and paste the tiny code inside. Slide it onto your server, and swap your HTML link to point to the lean new file.
Recommended Tools and Risks
A few free favorites are ready, like Toptal’s minifier or CSS Minifier, but always peek to make sure you’re on the right site. Some tools might log your code. If it’s confidential, swap to your local setup or skip the secrets file altogether.
| Tool Name | Supported Languages | Key Features | Important Notes |
| Toptal JavaScript Minifier | JavaScript, CSS, HTML | Simple interface, provides an API for automated use. | Caution: the API sometimes adds unwanted tracking scripts. Inspect output carefully before deploying. |
| Minify | JavaScript, CSS | Quick, copy-paste interface that runs scripts in seconds. | May skip some newer JavaScript features. Works best on smaller code blocks. |
| UglifyJS / Terser Online | JavaScript | Cloud version of the powerful UglifyJS and Terser CLI. Lots of advanced options. | Advanced users only; gives fine control over how JavaScript is compressed. |
| CSS Minifier | CSS | Purpose-built for CSS; reports how much space is saved. | Only compresses CSS; doesn’t handle code outside that. |
Online tools are handy, but remember: any code added to a third-party site can get monitored. For secure projects, run minification in-house using plugins or build scripts. Even so, cloud tools still suit quick tests, lesson demos, and code that won’t break a site if it leaks.
Use a WordPress Plugin
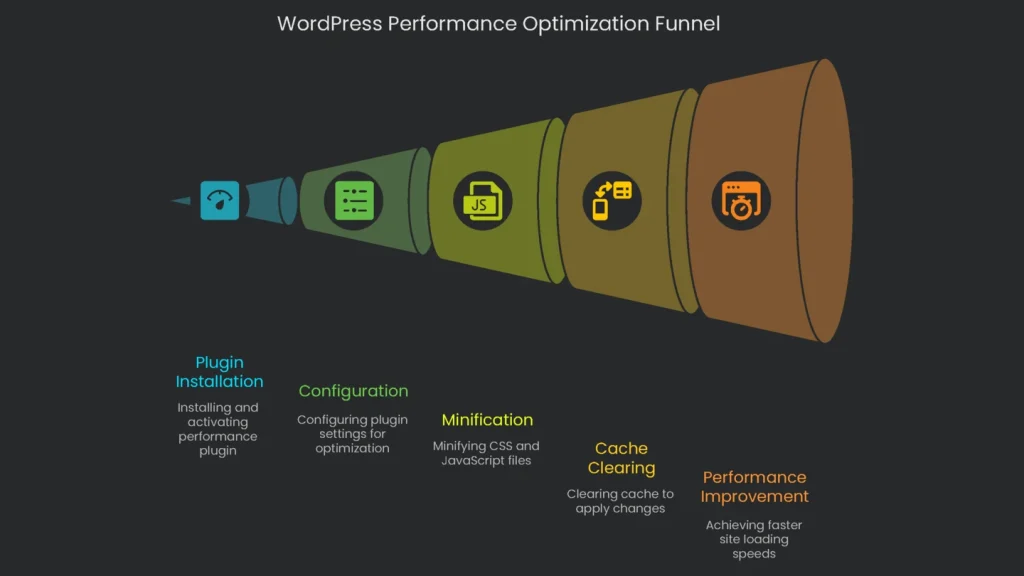
If you’re running a WordPress site, a good performance plugin is the fastest way to minify code. Most of them offer one-click minification, automatically taking care of CSS and JavaScript every time a page is published. Consequently, you save time without touching code.
Who Should Use This Method?
This method fits nearly everyone:
- Most WordPress owners, whether their site is a personal journal or a massive e-commerce platform, will gain from using it.
- Anyone looking for a hassle-free fix that minimizes code, compresses images, and speeds things up without ever staring at a single line of programming.
How Plugins Automate Minification
Pieces of software, such as WP Rocket and Autoptimize, tidy up your website instantly. When a person visits your site, here’s what happens secretly, step by step:
- The plugin gathers all your separate CSS and JavaScript files.
- It analyzes each file, trimming down blank spaces, comments, and extra bits.
- Small, neat versions of the files are stashed in a hidden folder on your server.
- The plugin tweaks your page’s code so it sends the compacted files instead of the older ones.
After the initial setup, the plugin quietly keeps your web pages as speedy as ever. As a result, you get performance gains on autopilot.
How to Configure WP Rocket
WP Rocket is a well-loved, easy-to-use premium plugin that turbo-charges WordPress without confusing menus or complicated choices. Simply install it, flip a few switches, and watch your site zoom forward, all the technical magic happening under the hood.
- Installation: Head to the WP Rocket website to buy and download the plugin. In the WordPress dashboard, click Plugins → Add New → Upload Plugin, and then upload and activate the file you just downloaded.
- Open the File Optimization Page: After it’s turned on, click Settings → WP Rocket and select the File Optimization tab.
- Minify the CSS: In the CSS Files section, tick the box to Minify CSS files. WP Rocket will warn you that it might break the site. Hit “Activate Minify CSS” to move on.
- Minify the JavaScript: Scroll to the JavaScript Files section and tick Minify JavaScript files. Click the activation button that appears.
- Save and Clear the Cache: Tap the big Save Changes button at the bottom. Finally, head to the top admin bar and clear the WP Rocket cache so changes take effect right away.
How to Set Up Autoptimize
Autoptimize is a free tool that does a great job at shrinking your CSS and JavaScript files. Therefore, it’s perfect if you don’t want to pay for a premium plugin.
- Installation: In your WordPress dashboard, head to Plugins → Add New, search for “Autoptimize,” and then install and activate the first result.
- Go to the Settings Page: When you activate the plugin, click Settings → Autoptimize to adjust your new tool.
- Turn on the Core Stuff: On the top settings page, tick the three big boxes:
- Boost the JavaScript Code
- Tweak the CSS Code
- Tweak the HTML Code
- Think About Merging (Joining Files Together): Autoptimize can squish several CSS or JavaScript files into a single one. This was a big deal for older tech (HTTP/1), but since most servers now support HTTP/2, it’s not always needed. For example, run a speed test with the setting on and again with it off, then choose the faster one.
- Save and Dump Cache: Hit Save Changes and Empty Cache to lock in your edits.
How to Fix the Most Common Plugin Snags
Since WordPress themes and plugins each load their own scripts, minification can sometimes mess up your site, leaving buttons and text in the wrong spots. This happens when the order the files load in gets scrambled. The fix is to spot which script or style is at fault and tell Autoptimize to ignore it.
- Skip in WP Rocket: Open the File Optimization tab. You’ll see boxes that say Excluded CSS Files and Excluded JavaScript Files. Copy the URL or a unique bit from the filename of the trouble file and paste it in one of these boxes.
- Skip in Autoptimize: Pop open the main Autoptimize settings page, and you’ll see exclusion boxes that work the same for both JavaScript and CSS files.
You can usually nail down the troublesome script by opening the browser’s developer console with F12 and scanning the “Console” panel for any angry red errors. Consequently, you’ll know exactly what to exclude.
Dial Up a Build Process
Seasoned devs automate minification by baking it right into their workflow. They lean on “build tools”—like Webpack and Vite—to squish, bundle, and polish code before the website ever hits the public internet.
Who Is This for?
Basically, anyone who needs rock-solid optimization on every push:
- Professional devs crafting bespoke sites, themes, or apps.
- Dev teams craving a hands-free optimization pipeline.
The Modern Developer Dance
Here’s how it goes. Coders write neat, human-friendly code in a src folder. When the deadline bell rings, they fire off the build tool. This handy app minifies, bundles, and works its other magic, then drops the shiny, production-ready files into a dist folder. That dist folder gets zapped to the server. Boom—only optimized code stands between the visitors and the website.
Here’s a guide for speeding up your website’s load time using Webpack’s and Vite’s bundlers. Both automatically shrink your files, but they approach it a bit differently. That’s what we’ll cover next.
Webpack and Terser
To minimize JavaScript, Webpack applies Terser automatically in production. Just set the mode, and the rest takes care of itself. For extra adjustments, edit your Webpack config.
JavaScript
// webpack.config.js

const TerserPlugin = require("terser-webpack-plugin");


module.exports = {

  //... other settings

  mode: 'production',

  optimization: {

    minimize: true,

    minimizer: [new TerserPlugin()], // Add custom Terser settings here, if you want

  },

};
Webpack and CSS
JavaScript isn’t the only target. For your CSS, you’ll plug in CssMinimizerWebpackPlugin together with MiniCssExtractPlugin to bundle and shrink your styles.
JavaScript
// webpack.config.js

const CssMinimizerPlugin = require("css-minimizer-webpack-plugin");

const MiniCssExtractPlugin = require("mini-css-extract-plugin");


module.exports = {

  //... other settings

  module: {

    rules: [

      {

        test: /\.css$/,

        use: [MiniCssExtractPlugin.loader, "css-loader"],

      },

    ],

  },

  plugins: [new MiniCssExtractPlugin()],

  optimization: {

    minimize: true,

    minimizer: [new CssMinimizerPlugin()],

  },

};
Webpack and HTML
Last, compress your HTML pages with HtmlMinimizerWebpackPlugin. Just drop it into your plugins list, and it’ll tidy up your document.
Vite’s Approach
Now what if you want something simpler? Vite uses esbuild under the hood, which is blazing fast and automatically shrinks your JS and CSS at the same time. When you define the production build, Vite minifies with no extra plugins. Just run vite build and enjoy the small bundles. Both tools make your website quicker, so the choice comes down to how you like to set things up.
- Default Behavior: Type
vite buildin your terminal, and Vite kicks in. It bundles and minifies your JavaScript and CSS with esbuild, which zooms through the work faster than older tools could ever dream of. - Configuration: Most of the time, the standard settings work well. If they don’t, head to
vite.config.js. You could plug in Terser to really squash file sizes, but keep in mind that the build will take its time. - JavaScript
JavaScript
// vite.config.js

import { defineConfig } from 'vite';


export default defineConfig({

  build: {

    minify: 'terser', // Options: 'esbuild', 'terser' for tiny, or false for no minification.

    terserOptions: {

      // Terser settings go here, like dead_code for size shrink

    },

  },

});
Why Source Maps Matter
Minification shrinks your code to the point of insanity. So when a bug pops up in production, the browser flashes an error on a line that looks like a(){}b(){};. Good luck figuring that out! Source maps keep a readable connection between your tiny code and the human-sized source, turning that gibberish back to something that makes sense. A source map is like a bridge.
It’s a lightweight file that pairs your tiny, minified code with your pretty, readable source files. When your browser’s developer tools fire up, they walk the bridge and show you the real line, column, and character where the hiccup popped up. Consequently, you can squish that bug in seconds. If you’re curious, look up source mapping for the nitty-gritty.
Minification vs. Compression
Minification and compression are like power-ups for your site, but they kick in at different times and do different things. Mixing them up is easy, so here’s how each works. For example, minification happens before deployment, while compression happens on request.
Minification: Code Taming
Minification is the code diet your files go on before they hit the Internet. It nibbles away at the original files, tossing out spaces, line breaks, and anything that won’t ruin the readable code. You’re left with a skinnier file that’s ready for the browser to gobble right up—no extra prep needed.
Compression: File Shrink Ray
Compression happens later, after a browser asks for a file. While the browser is waiting, the server compresses that freshly minified file with tools like Gzip or Brotli. Imagine zapping the file instantly with a shrink ray. The browser then receives the tiny version, blows it back to the full size, and the code runs.
How They Work Together
Minification and compression make a pretty awesome duo. Picture this: minification is like cutting down a long story until it tells the same tale with fewer words. Compression is like rolling that skinny story into a super tight burrito and zipping it into a pouch that can fit in your backpack.
Here’s the step-by-step:
- The person who builds the website scribbles a JavaScript file that’s 100 KB.
- During the build, a tool trims it down. It zaps the file down to 40 KB, and this skinny version is sent to the server.
- When a user clicks on the page, their browser asks the server for the 40 KB file.
- The server dusts off Gzip and squeezes those 40 KB into a tiny 15 KB delivery package.
- The browser snags the 15 KB package and pops it open. Gzip unrolls it back to 40 KB.
- Finally, the browser reads and runs the 40 KB of minified code, and because it’s shaved down, the page feels snappy.
Combined, minification and compression make sure the smallest, fastest version of the file zooms across the web. As a result, visitors enjoy the quickest load times.
Conclusion: Minify and Move On
Key Takeaways
Minifying files isn’t just a cool trick—it’s the bare minimum every website needs. When you strip away the whitespace and comments, pages load fast, visitors smile, and search engines show you some love, too.
How you minify is up to you. Pick the route that fits your setup and skills, and know the time savings are similar no matter what:
- Type or paste your code into web tools for an instant cleanup.
- Install a WP Rocket or Autoptimize add-on to handle all the minifying magic in WordPress.
- Chain a minify step into Webpack or Vite for an autopilot build pipeline every time developers code.
When you lock minification into your workflow, you’re not just polishing an already shiny surface. You’re laying a smart foundation that keeps pages snappy, users happy, and search rankings climbing. Finally, it’s an extra click that pays off the moment someone lands on your site.
Implementation steps
- Set up your CI, the CDN, or the baking process to minify HTML, CSS, and JS.
- Generate source maps and stage test them to spot and battle short-fall before it releases.
- Pair minification with Gzip or Brotli on your CDN or at the server to squeeze sizes further.
- Shake, purge, or code-split unused styles and scripts for bigger wins that actually matter.
- Double-check Lighthouse log sizes drop right and users see real responsiveness improve
Frequently Asked Questions
JavaScript and HTML, What’s minification?
Trimming down files by removing spaces, comments, and renaming to shorter labels.
JavaScript and HTML, Is it safe?
Usually—run tests in staging and keep source maps to fix issues.
JavaScript and HTML, Is compression still needed?
Yep—Gzip or Brotli still gives extra size savings even after minification.
JavaScript and HTML, How about unused code?
Tree-shake JavaScript and purge unused CSS to save more size.
JavaScript and HTML, How to automate it?
Chain build tools, plugins, or let the CDN do it in its minification step.