
An XML sitemap is an indexed URL photobook. This lesson focuses on which sitemaps to send, how to organize them, and maintaining lastmod honesty for speedier lastmod refreshes.
Getting Google to Find Your Pages
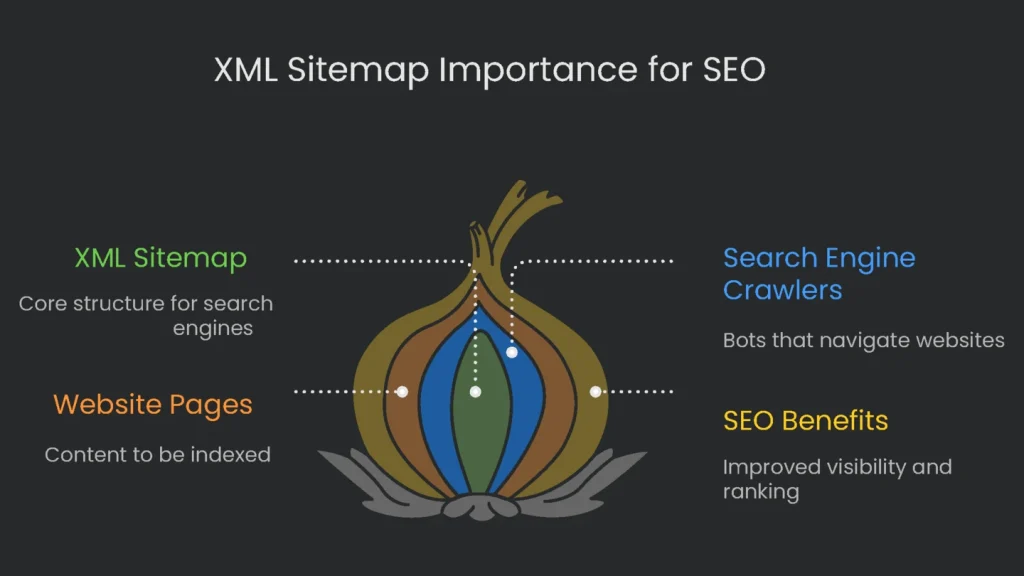
What an XML Sitemap Is
Think of an XML sitemap as a treasure map that Google and other search engines can use to locate hidden gems on your website. While visitors rely on buttons, dropdowns, and footers, search engines rely on the sitemap to see the full layout. Unlike regular HTML sitemaps made for people, XML sitemaps speak a code that bots understand instantly. As a result, XML brings the structure robots love into the spotlight.
Why It Matters
When you hand Google a sitemap, you’re offering a VIP tour. It’s a quick, polite signal that says, “These are the pages I care about.” Consequently, Google’s crawler zooms down the proper hallway with fewer detours. Each URL tells Google, “This page matters and should get listed.” Therefore, review your sitemap and only show URLs that truly shine. Every link carries an unspoken message about importance.
The Reason to Create a Sitemap
Why a Sitemap Helps
Sure, search engines can hop from link to link. However, a sitemap gives them a complete map of your site. It saves time and steers them straight to the pages you consider top priority. If they must dig through complicated paths, they may take the long route and skip important pages buried a few clicks deep. Providing a sitemap makes your priorities crystal clear.
Who Should Use One
Anyone with a site, whether a small blog or a huge store, can benefit from an XML sitemap:
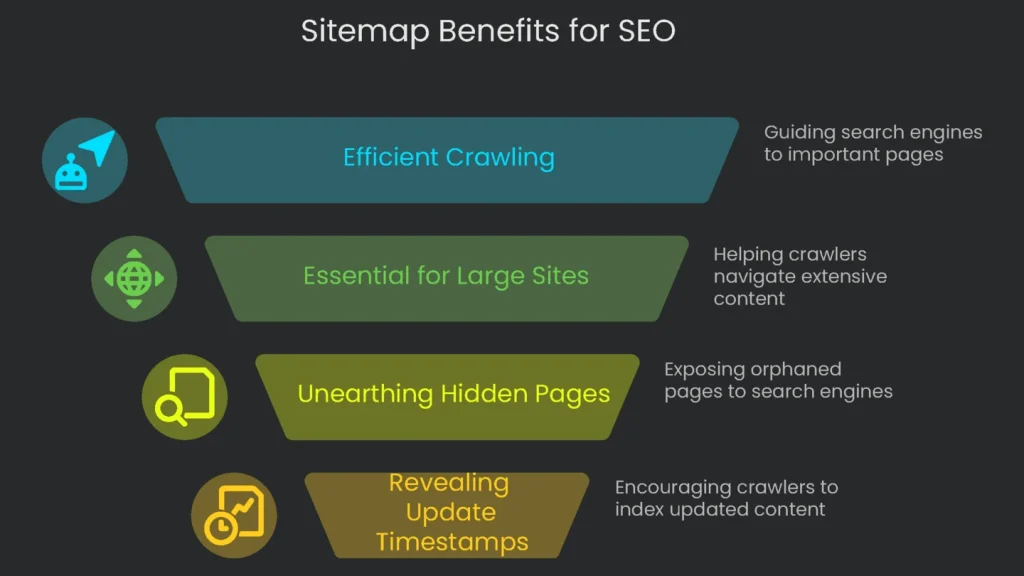
- More Efficient Crawling: Think of search engines like visitors with time limits. They can only spend a fixed number of “minutes” per site, called crawl budget. Consequently, an XML sitemap makes that time go further by guiding bots straight to your most important pages.
- Essential for Big or Brand-New Sites: Sites with thousands of pages need a sitemap to lead crawlers to deep pages. For new sites without many external links, a sitemap is the fastest way to wave a flag and say, “We’re open. These pages are our favorites.”
- Unearthing Hidden Pages: A sitemap helps expose “orphaned” pages with no internal links. Otherwise, these pages may stay invisible to crawlers. As a result, the sitemap switches on their lights.
- Revealing Update Timestamps: XML sitemaps support the <lastmod> tag. When you mark an accurate date, it nudges crawlers to revisit and index the newest version. However, if the date is incorrect, crawlers ignore it. Therefore, keep this tag truthful.
Fitting the Right Pages into the Sitemap
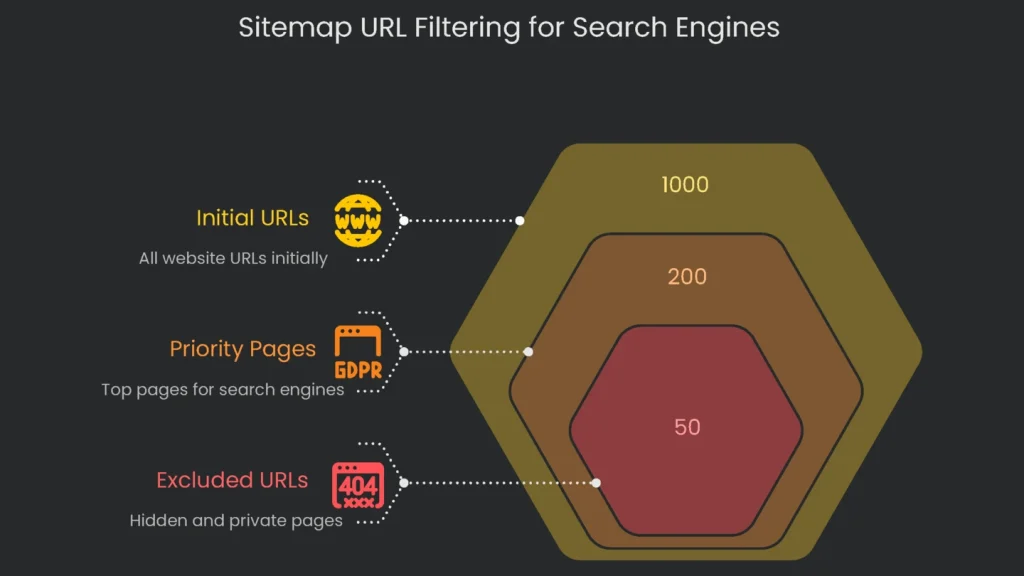
Quality Over Quantity
Most newer sites don’t need to craft a sitemap by hand. Their back-end tools generate one automatically. The real task is weeding. Trim the auto-generated list into a tidy guide that search engines value. A polished map with the best and freshest URLs signals quality. However, a cluttered file with broken links or endless redirects wastes crawl budget. Use the checklist below to sort good links from noise.
What to Include and Exclude
| URL Type | Include or Exclude? | Reason in Plain English |
| Keep These URLs in Sight | ||
| Top-Priority Pages | Include | These pages matter most to visitors. Send Google to your homepage, services, quality blog posts, and key products. |
| Correct Link for Duplicate Pages | Include | When duplicates exist, mark the “official” version. List only that canonical URL so all signals consolidate. |
| Pages with a Healthy 200 Status | Include | A 200 status means the page is accessible. Listing only working pages helps users and search engines. |
| Leave These URLs Out of the Map | ||
| Pages Telling Google “No” (noindex) | Exclude | A noindex page says, “Don’t show me in results.” Including it sends mixed signals. Leave it off. |
| Links that Redirect (see 301) | Exclude | A redirect passes visitors to a final page. Therefore, list only the destination URL. |
| Broken Links (e.g., 404) | Remove | Dead ends waste crawl budget and signal neglect. Fix or redirect them, then update the sitemap. |
| Duplicate URLs | Remove | If a page declares a true version with a canonical tag, list only the canonical URL. |
| Hidden and Private Pages | Remove | Login, carts, account, and post-purchase pages serve existing users only. Keep the public map lean. |
Making the Sitemap
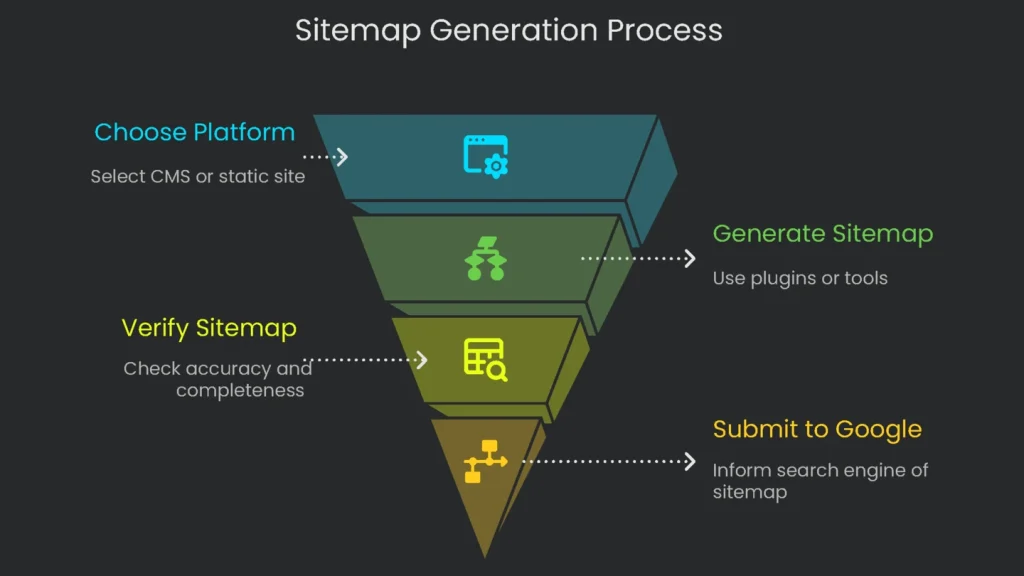
Your Options at a Glance
Most platforms stitch XML sitemaps together with a few clicks. Below are highlight paths for common setups.
WordPress: Let the SEO Plugin Handle It
Most sites already run an SEO add-on. Trusted partners like Yoast SEO or Rank Math can build a sitemap instantly. Each new post auto-populates the list, so accuracy stays high. These plugins usually create an index sitemap, which is a table of contents for other sitemaps. They split content into maps for posts, pages, and categories. That keeps things tidy and helps you stay under Google’s limits of 50,000 URLs or 50MB per file. In short, send Google the index sitemap link and you’re set.
Here’s how to find your sitemap in Yoast SEO:
- Open your WordPress dashboard and click Yoast SEO > Settings.
- Scroll until you reach the APIs section.
- Check that the XML sitemaps feature is on (look for the purple checkmark).
- Click “View the XML sitemap.”
The index sitemap should open at yourdomain.com/sitemap_index.xml.
And here’s how to find your sitemap in Rank Math:
- Go to your WordPress dashboard and open Rank Math SEO > Sitemap Settings.
- Note the sitemap index URL shown at the top.
It typically appears as yourdomain.com/sitemap_index.xml.
Shopify & Squarespace: Keeping Sitemaps Automated
Today’s leading platforms generate sitemaps in the background, so you hardly lift a finger.
- Shopify: Creates and refreshes a sitemap for every store in real time.
Just add /sitemap.xml to yourstore.com to view it. If your store targets multiple regions with separate domains, Shopify serves one sitemap per domain. Therefore, add each domain in Google Search Console.
- Squarespace: Handles the sitemap for you.
Visit yourdomain.com/sitemap.xml, and you’re set. Squarespace omits disabled, password-protected, or “no search” pages. Consequently, your sitemap stays tidy. Remember, automated sitemaps don’t build on trial sites. Make the site public first.
Static Sites: Use an Online Generator
If your site isn’t built with a CMS that auto-generates sitemaps, use an external tool. These crawlers scan your pages and output a sitemap.xml that Google accepts. For example, XML-Sitemaps.com is free for up to 500 pages. Alternatively, try the free version of Screaming Frog, also limited to 500 URLs.
It’s easy:
- Open the generator and enter your homepage URL.
- Click crawl and let it hunt your pages.
- Download the sitemap.xml file and upload it to the root directory on your server.
Submitting Your Sitemap to Google
Before You Begin
After creating your sitemap, tell Google where it lives. You’ll do this in Google Search Console. First, ensure you’ve added and verified your site. Then submit the sitemap to start the discovery process.
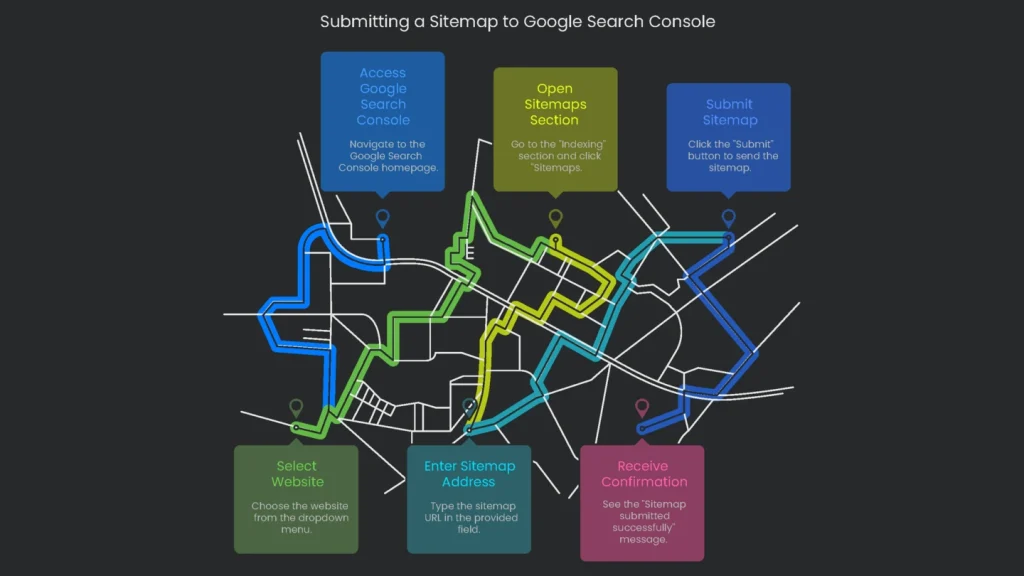
Step-by-Step Walkthrough to Send Your Sitemap
- Jump onto Google Search Console. Sign in to the homepage.
- Pick Your Website. If you manage more than one site, use the top-left menu to select today’s property.
- Open “Sitemaps.” In the left menu, go to “Indexing,” then click “Sitemaps.”
- Type Your Sitemap Address. You’ll see a field that shows your domain. Enter the path to the sitemap file.
- For WordPress sites using Yoast or Rank Math, enter
sitemap_index.xml.
- For Shopify or Squarespace, enter
sitemap.xml.
- Hit “Submit.” With the URL in place, click the blue “Submit” button.
- Confirmation. After you submit, Search Console shows “Sitemap submitted successfully.” Consequently, Google queues your sitemap for processing. Indexing may take time.
Results & Troubleshooting
What to Watch After Sending It
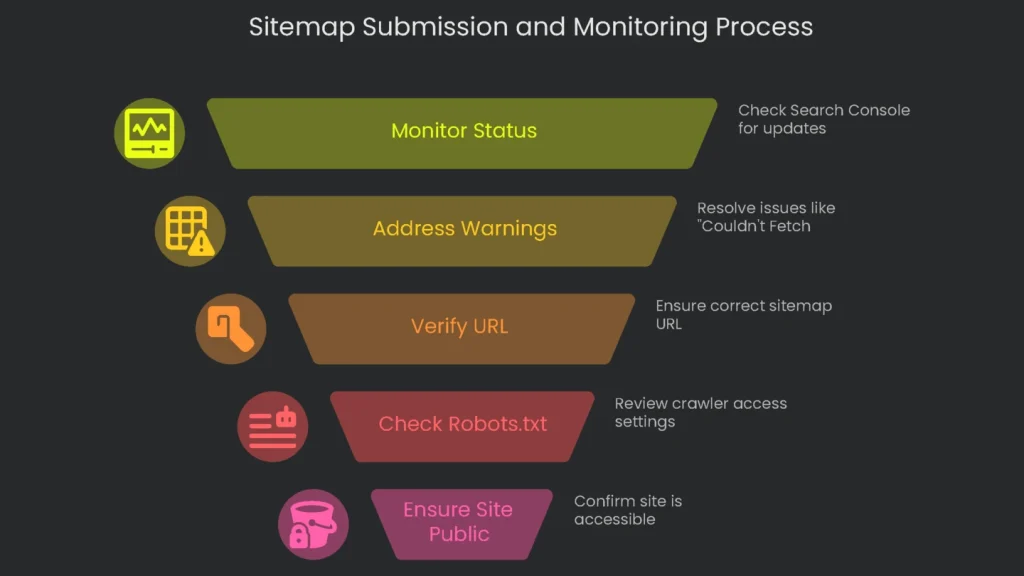
Submitting your sitemap is the first step. Next, Search Console shares updates about status. Treat warnings as helpful hints. If you see “Couldn’t fetch,” Google is saying, “I tried to open your map but couldn’t.” Therefore, double-check the link.
Once you’ve sent your sitemap, it appears in “Submitted sitemaps.” Keep an eye on the Status column.
- Success: Google opened and read the file. That’s your green light.
- Discovered pages: This shows how many pages Google found via your sitemap. Ideally, it aligns with the URLs you want noticed. However, discovery does not equal crawling or indexing. Those steps can take a while.
Dealing with a “Couldn’t Fetch” Message
This message means Googlebot tried to reach your sitemap but was blocked. The fix is usually straightforward. Therefore, use this quick checklist:
- Check for Typos: Confirm whether the URL is
sitemap.xmlorsitemap_index.xml. Copy the link from your SEO plugin or generator and compare it with Search Console. - Open the URL in a Browser: Paste the sitemap link into your address bar. If you see XML, it’s working. If you get a 404, Google can’t see it either.
- Review your
robots.txtfile: This file controls crawler access. A small mistake can block Googlebot. Visit yourdomain.com/robots.txt and look for any Disallow lines that block the sitemap. To help, add a sitemap line: Sitemap: https://yourdomain.com/sitemap_index.xml. - Make Sure Your Site Is Public: On platforms like Squarespace, a trial or password-protected site won’t expose a sitemap. Set it to public first.
Conclusion
Final Thoughts
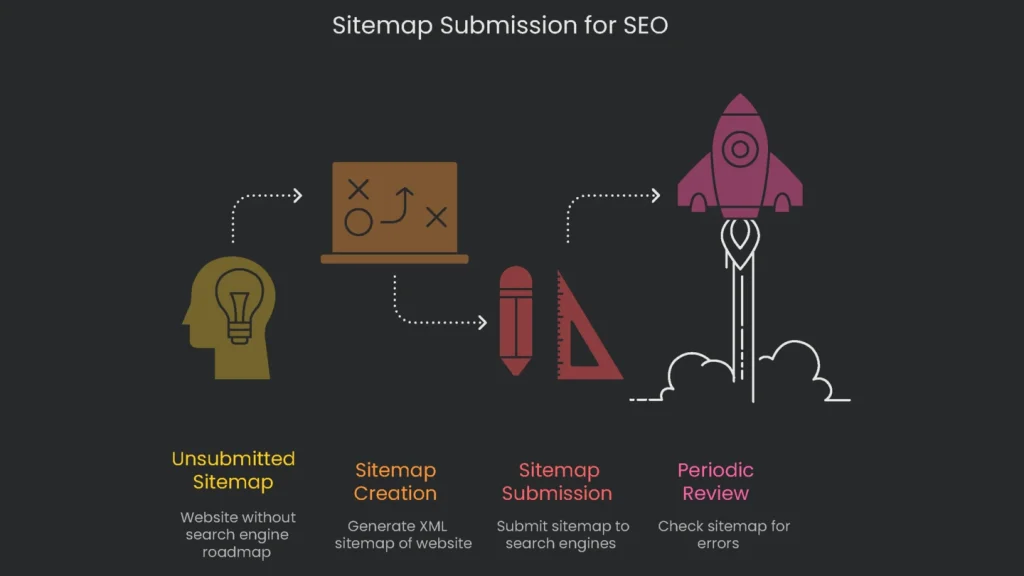
Submitting an XML sitemap is a basic yet essential task in your technical SEO checklist. It doesn’t directly change rankings. However, a tidy, working sitemap guides search engines through your best content. It acts like a clear roadmap that highlights your most important pages and how they’re organized. Consequently, discovery and indexing often speed up.
Keeping track of your sitemap is quick and smart. Most website builders generate it behind the scenes. You simply submit it once and review it occasionally. This step-by-step guide helps you speak directly to Google and lay solid groundwork to reach more visitors.
Implementation steps
- Create sitemaps that list only URLs in a 200 status, marked canonical, and ready for indexing.
- Create a sitemap by splitting into pages, products, and posts; keep each under 50,000 URLs or 50MB.
- Insert accurate tags and drop any 3xx, 4xx, or 5xx links.
- Upload the index sitemap to Search Console and monitor Index Coverage for changes.
- Set up automation to regenerate the sitemap when any item is published, updated, or deleted
Frequently Asked Questions
What belongs in a sitemap?
Only the canonical, indexable URLs you want search to see and send traffic to.
How big can it be?
Up to 50,000 URLs or 50MB when zipped—use an index file if you need to split larger sets.
Should I include lastmod?
Yes—keep it honest so search engines know when to give a page a quick second look.
Should I bother with image/video sitemaps?
Only if you want Google to notice your pictures and clips faster.
How often should I hit refresh?
Rebuild the site anytime you add, take away, or majorly change a URL.